Last updated November 17, 2026








Free written scope consultation - allowances, timeline, and change-order rules on paper before a single trade is scheduled
Bathroom Remodeling Troubleshooting: Common Problems and How to Fix Them
A grout crack that shows up 90 days after a tile install is almost never a grout problem. It’s a substrate problem: the floor flexes, the grout takes the strain, and the hairline crack is your first warning. Here’s the hard part. Most bathroom warranties are written to cover what you can see, the finish material, which lets the contractor off the hook for the cause underneath. This guide walks you through the five failures we see most often after a bathroom remodel, how to trace each one to its root cause, and how to read a written guarantee in East Los Angeles so you know who pays when something goes wrong.
Quick Answer
Most post-remodel bathroom failures come down to five causes: substrate deflection or bad backer board, an ignored movement joint, an undersized exhaust fan, a P-trap with the wrong slope, and a door rough-in that breaks clearance rules. The fix depends on whether the failure is workmanship or a material defect, and the only reliable way to tell is a written warranty that names both paths. If a defect shows up inside the warranty window, document it in writing and get the cause on record before you sign anything.
Styles & brands we work with
- Kitchen remodeling
- Bathroom remodeling
- Home additions & ADU
- Roofing
- Windows & doors
- Driveway & pavers
- Fence
Table of Contents
- Why does grout crack months after a bathroom remodel?
- Why does caulk fail at the tub surround?
- Why does your bathroom stay fogged up?
- Why is the new drain already slow?
- Why doesn’t the bathroom door clear the floor or the wall?
- How do you read a warranty so you know who pays?
- What should you inspect at 30, 90, and 365 days?
- What paper trail protects you in a dispute?
- What does a CSLB complaint actually do?
Why does grout crack months after a bathroom remodel?
Grout cracks when the surface underneath it moves. Tile is rigid and grout is brittle, so any flex in the floor or wall transfers straight into the joints. In our experience, the cause almost never sits in the grout bag. It sits in one of three places underneath.
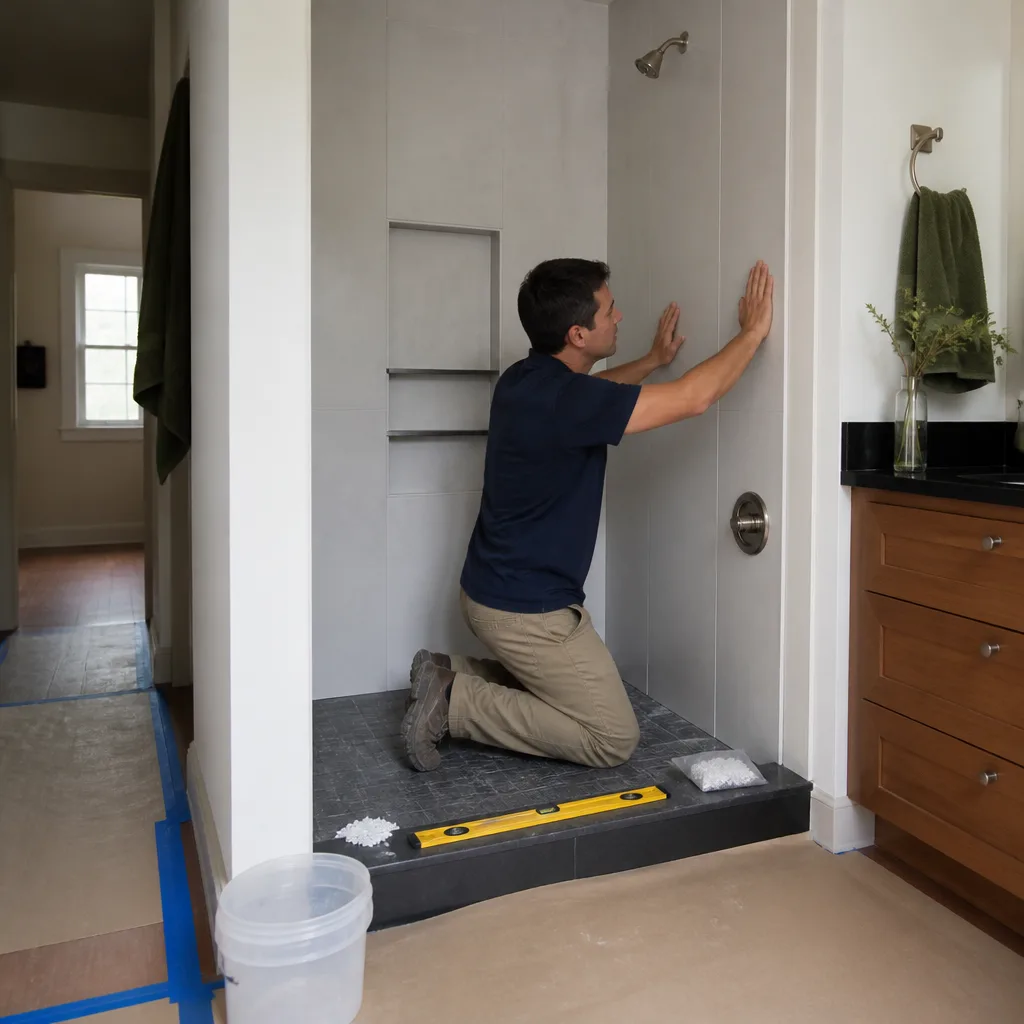
The first is floor deflection. Wood-framed floors need enough joist depth and spacing to meet the stone or tile deflection standard in the tile industry’s installation guide, and some bathrooms in older East Los Angeles homes were never built to that bar. A tile installer who skips a deflection check sets a beautiful floor on a springboard.
The second is backer board. Cement backer, uncoupling membrane, and greenboard are not interchangeable. Greenboard is drywall with a moisture-resistant face, and it was never meant to carry tile in a wet area. A floor or wall set over greenboard is going to move.
The third is the thinset under the tile. Spot-bonding, where the installer dabs thinset in a few places instead of troweling full coverage, leaves air pockets. Tap a floor tile with a coin. A hollow sound over a large area is a warning.
- Workmanship cause: deflection, missing membrane, spot-bonded thinset, tile set over drywall. Contractor’s cost.
- Material cause: a grout batch that failed to cure right, or a manufacturer defect. Manufacturer’s warranty path.
- Cheap fix: scraping out and re-grouting the cracked joint. It will crack again within a season.
One more note on East Los Angeles. Homes near the Whittier Boulevard corridor and the older blocks off Atlantic often sit on slab foundations that shift with summer heat and winter rain. A little slab movement is normal. Any crack wider than a hairline, or any grout that keeps cracking after a re-grout, needs a substrate inspection rather than a third tube of caulk. For a baseline on how a full replacement should be scoped, see our Bathroom Remodeling in East Los Angeles page.
Why does caulk fail at the tub surround?
Caulk fails at the tub surround because it’s being asked to do a job it wasn’t specified for. The seam where the tile meets a tub deck or a fiberglass surround is a movement joint. The tub moves when you step into it, the wall doesn’t, and the seam opens and closes a few thousand times a year. A grout line in that seam will crack. Caulk chosen without a movement rating will peel and grow mold.
The right spec is a flexible sealant with a movement rating, applied over a proper backer rod where the joint is deep enough. The wrong spec is the cheapest painter’s caulk on the shelf, which is what shows up on a lot of homeowner re-caulk jobs.
When you find caulk failure in a bathroom that was remodeled less than a year ago, ask three questions before you touch it.
- What sealant did the installer specify, and is it listed on the written scope?
- Was the joint backfilled so the sealant has something to grip and room to flex?
- Was the tile set directly against the tub, or with a proper gap for movement?
If the answer to any of those is “the usual caulk” or “I don’t know,” you have a workmanship question, not a maintenance task. Cutting out and re-caulking a failing joint yourself will hide the symptom for a season. It won’t close the door on the underlying cause. The alternative is to put the seam on the contractor’s tab while the warranty is still open.
Why does your bathroom stay fogged up?
Your bathroom stays fogged because the exhaust fan can’t clear the room. The fan’s rating, measured in cubic feet per minute, or CFM, has to match the volume of the room. A fan that was sized for a powder room, dropped into a full bath, will fail from day one. You just won’t notice until the first cold morning.
The simple math: length times width times ceiling height gives you cubic feet. For a bathroom under 100 square feet, most spec sheets call for a fan rated at 1 CFM per square foot of floor area, with a minimum fan size that varies by code cycle. A bathroom over 100 square feet gets a higher baseline. If you’re installing a fan in a bathroom with a shower door or a high-moisture setup, add margin. A fan rated at the exact floor number in a code table is a floor, not a target.
The other half of the problem is the duct run. A fan rated for 80 CFM on a straight 4-inch duct with a short roof cap will clear a small room. The same fan on a 30-foot run with three elbows will move far less air, sometimes half its rating. East Los Angeles homes built in the 1940s through the 1960s often route the fan through a ceiling that wasn’t designed for it, which means the run is long and the elbows are tight.
- Check the fan’s CFM rating on the label. It’s on the housing inside the grille.
- Check the duct diameter. Anything smaller than 4-inch is undersized for most fans.
- Check the run. Long runs with multiple elbows cut airflow. Flex duct with a sag does too.
- Check the fan’s runtime. A fan on the same switch as the light shuts off when you leave. Moisture lingers. A timer solves that.
If your fan runs but the mirror still fogs and the paint peels above the shower, the fan is undersized, the duct is compromised, or both. That’s a scope problem from the remodel, and it belongs in a conversation with your contractor while the warranty is open.
Why is the new drain already slow?
A new drain that’s slow usually points to a P-trap slope error. Drain pipe has to run at a specific downhill pitch, roughly a quarter inch per foot of run for a standard 1.5-inch P-trap. Too flat and water pools in the pipe. Too steep and the water runs off ahead of the solids, which lets them settle and clog. Either way, the drain starts slow and stays slow.
The other common causes are easier to fix than a slope error. Hair and soap scum in a new drain cartridge, a false clog from construction debris that got into the trap during the remodel, or a drain body with the wrong internal depth. Those are worth eliminating before you assume the worst.
Here’s the sequence we’d run before anyone opens a wall:
- Pull the stopper and inspect the cartridge. A sub-$20 cartridge swap settles a surprising number of slow-drain calls.
- Run a drain snake down the trap. Note the depth where it stops. If it stops short of the main line, the clog is local.
- Check the sink and shower drains separately. If both are slow, the problem is downstream of the trap.
- Have a plumber camera the line. A camera is the only reliable way to confirm slope.
If the camera shows a flat or back-pitched run, the fix is a re-pipe on that section, and it’s not a $200 job. In an East Los Angeles bathroom remodel, the P-trap and the horizontal run behind the wall are the two spots most often changed without a camera. A contractor who documents the slope before closing the wall is doing the work you paid for.
Why doesn’t the bathroom door clear the floor or the wall?
A door that drags the floor or won’t open past 90 degrees is almost always a rough-in clearance issue. The wall cavity and the door swing have to cooperate with the finished floor height, the trim width, and the hinge side. When a remodel adds tile and a thicker substrate, the finished floor sits higher than the old one, and a standard undercut on the door may not be deep enough to clear it.
There’s a second clearance issue most homeowners never hear about: accessibility. A standard interior door is 30 or 32 inches wide. An accessible clearance for a main-floor bathroom is often 32 inches clear, and the difference matters when a family member uses a walker or a wheelchair. If the rough-in was set for a standard door but the plan called for an accessible one, you can end up with a bathroom that doesn’t meet the plan.
- Door swing collision: the door hits the toilet, vanity, or a towel bar. Caused by rough-in location and door swing set without measuring the fixtures.
- Threshold height: the finished floor is higher than the rough opening allowed for. Caused by tile and substrate thickness not being accounted for before the door was ordered.
- Clear width: the finished opening is narrower than the plan called for. Caused by the rough-in being set to the old door frame.
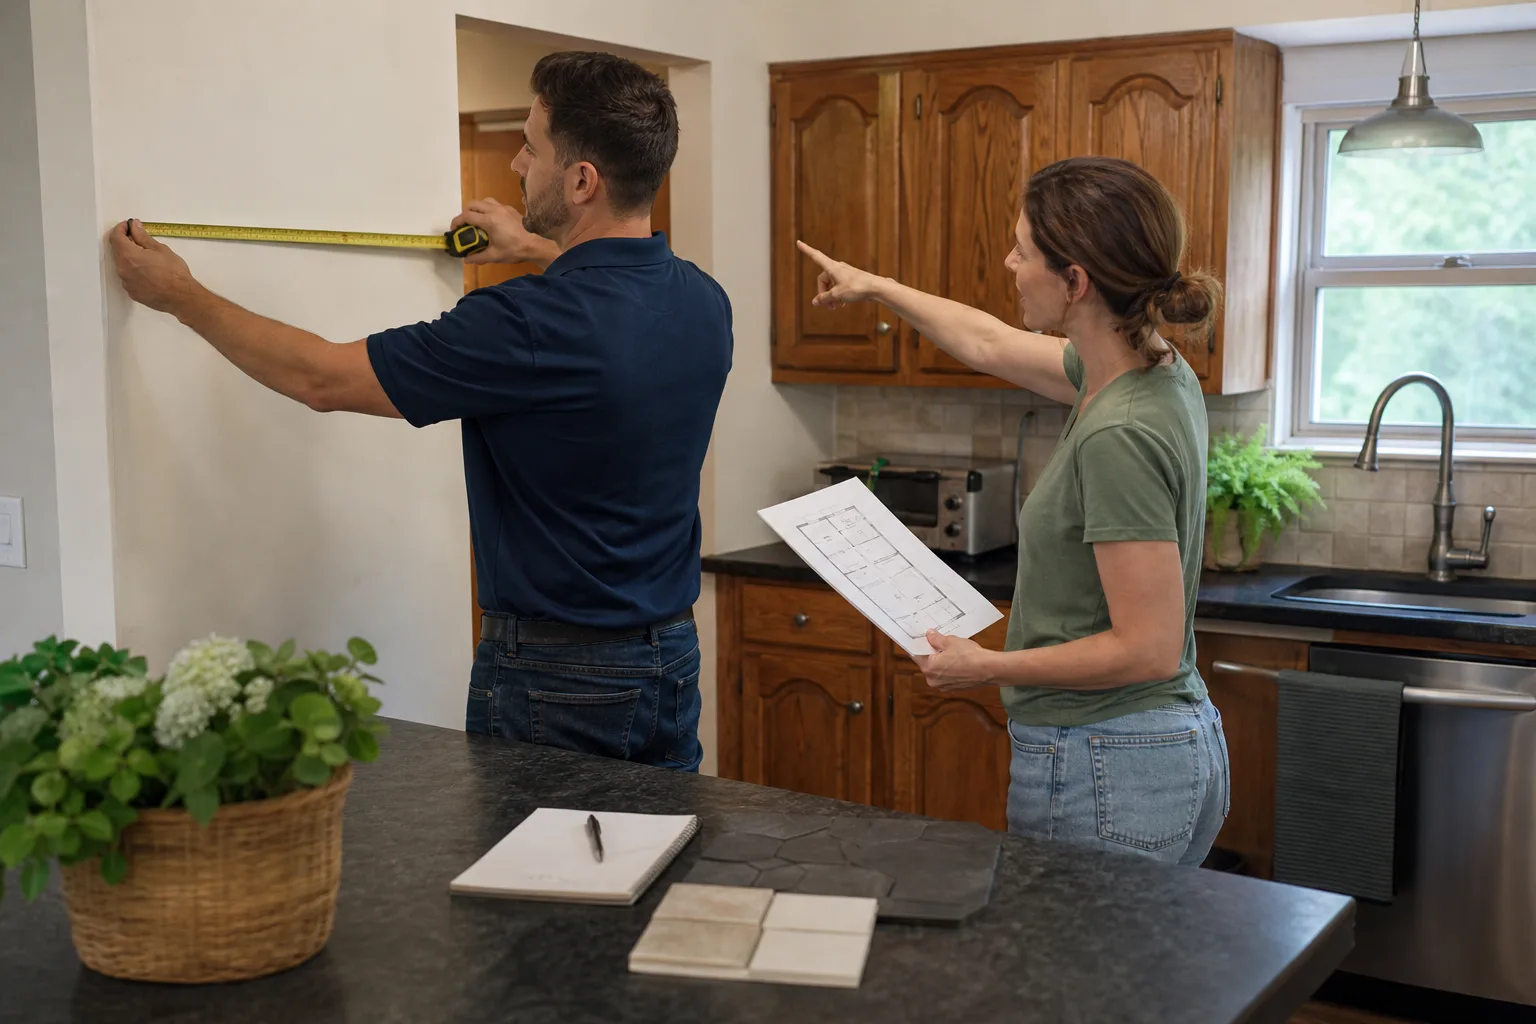
Each of those is fixable, but each one is a come-back. The time to catch them is at the rough-in walk before drywall goes up. It’s a five-minute measurement you can do with a tape and a printed plan, and it saves a week.
How do you read a warranty so you know who pays?
A warranty tells you who pays for a failure. Read it before work starts, not after a problem shows up. The three questions that decide every claim are below, and if you can’t answer all three from the written document, the document is too thin.
Question one: what’s covered? A finish-only warranty covers the tile, the grout, the fixture, the paint, the caulk. It does not cover the substrate, the framing, the plumbing rough-in, or the waterproofing. A workmanship warranty covers the how, not just the what. If a grout crack traces back to deflection, the finish-only warranty excludes the actual cause, which is exactly where the money goes.
Question two: how long is the term, and when does it start? Read the start date carefully. A warranty that starts at substantial completion and runs 365 days from that date is a real guarantee. A warranty that starts at contract signing and runs 365 days has already burned part of its window during construction. The term should match the failure timeline, and the timeline that matters is post-completion.
Question three: what’s the remedy? Fix or replace, at whose cost, on what timeline. A warranty that says “will repair at contractor’s discretion” is weaker than one that says “will return and correct at no charge.” Get the remedy language in writing and keep the signed copy.
The 365-Day Done Right Promise is what we put in writing on every completed Bradford Remodeling project. If the work fails inside that first year, we come back and correct it at no charge. Materials carry their own manufacturer warranties, and Bradford works with a documented roster of premium brands, including KraftMaid and Wellborn cabinetry, Cambria and Caesarstone surfaces, and Kohler and Moen fixtures, so every material spec is traceable and the manufacturer’s path is clear if the failure is theirs and not ours.
Before signing, ask for a written price and a written guarantee together. A contractor who won’t put both in front of you is telling you something. For how a written price should look on a full remodel, see our General Contractor in East Los Angeles page.
What should you inspect at 30, 90, and 365 days?
Every remodel should be walked at 30 days, 90 days, and 365 days. The purpose is to catch failures while the warranty is open and the cause is still traceable. A homeowner with a phone camera and a notebook can run all three walks in about 20 minutes each.
At 30 days:
- Photograph every caulk joint in the wet area, including the tub surround and the shower niche. Note any shrink lines.
- Test the exhaust fan with a tissue held against the grille. If the tissue droops, note it.
- Run each drain for 30 seconds. Time how long it takes for the water to fully clear.
- Open and close every door and drawer. Note drags, sticking, or a door that hits a wall.
At 90 days:
- Photograph the grout lines in the shower floor and the floor-to-wall joint. A new hairline crack at 90 days is the classic substrate warning.
- Look at the ceiling above the shower for a paint ring or a pale spot. Early moisture shows as a water mark.
- Check the caulk joints again. Any peeling or mold at 90 days means the spec was wrong.
- Time the drains again and compare to your 30-day note. A drain that’s slower at 90 days is a slope or debris issue.
At 365 days:
- Do a full walk with the original scope in hand. Note any item the architect of the job would flag.
- Photograph everything that changed since day 30. A side-by-side is your best evidence.
- Email a written summary to the contractor before the warranty expires. A follow-up email is a record.
The 365-day walk is the last chance to file a claim on the first year. Do it with the written scope and the written guarantee in front of you. Our Kitchen Remodeling in East Los Angeles guide covers the same inspection rhythm for kitchens, which have their own wet-area failures.
What paper trail protects you in a dispute?
The written change order is the homeowner’s primary evidence in a dispute. In California, a verbal scope change is unenforceable. If the plan called for a 30-inch vanity and you asked the foreman to swap in a 36-inch on a Tuesday, and the foreman said “sure,” you just agreed to a change with no written record. Six months later the swap has created a door collision, and neither side has a document that says who agreed to what.
A properly written change order does five things:
- Describes the change in plain language, including what was removed and what was added.
- States the price change, in dollars, before work proceeds.
- States the schedule impact, in working days.
- Names who authorized it, and the date.
- Is signed by both the homeowner and the company before the work starts.
Keep a folder. The folder should hold the signed original contract, the written price and scope, every change order, every inspection report, the permit card copy, and the final signed guarantee. Take photos at each inspection milestone and keep them in the same folder. If you ever need to file a CSLB complaint or take a case to small claims, that folder is the whole case.
One more piece of paper matters: the permit. In East Los Angeles, a bathroom remodel that moves plumbing, adds a circuit, or changes a wall typically needs a permit with an inspection. The signed-off inspection card is your proof the work passed. If a contractor wants to skip the permit, that’s a red flag on the rest of the paperwork too.
What does a CSLB complaint actually do?
A CSLB complaint creates a licensing record against a contractor. It does not get you a refund. That’s the most important thing to know before you file, because a lot of homeowners file expecting a check and get a letter in the mail instead.
The Contractors State License Board does four things when a complaint is accepted. It opens a case file, it may require the contractor to respond, it may send an investigator to the site, and it can act against the contractor’s license if the case is substantiated. That’s a real power, and it can help a homeowner in a pattern case. What the CSLB does not do is order the contractor to pay you a specific amount. The agency has no authority to force a refund or a damage payment.
For money, you need a parallel track. Small claims in California handles disputes up to $12,500 for individuals, and the filing fee is low. A well-documented small claims case with the folder we described above (contract, written scope, change orders, inspection notes, photos) is a strong position. You can also pursue mediation through a county program, or work with a licensed attorney on a larger claim. In many disputes, the CSLB complaint is the leverage and small claims is the remedy. The two run best together.
Common Mistakes to Avoid
- Accepting a verbal warranty. If a contractor says “we stand behind our work” but won’t put a term and a remedy into the contract, the guarantee is a conversation and not a document. Get it in writing before work starts.
- Re-grouting a cracked floor without checking deflection. Re-grouting a flexing floor is a temporary patch on a structural problem. It will fail again, and the second failure may fall outside the warranty.
- Letting the exhaust fan run on the light switch. A fan tied to the light shuts off when you leave, so the moisture stays in the room. A timer or a humidisense fan is a small change with a big effect on mold.
- Treating a slow drain as a clump of hair. A new drain on a flat P-trap run will keep clogging no matter how much you snake. Get the slope camera-verified before the wall closes.
- Changing the layout on the fly. East Los Angeles homes often have tight footprints. A verbal “just move the vanity four inches” can create a door collision or a rough-in problem with no paper to fall back on. Every change goes on a signed change order.
- Skipping the permit to save time. An unpermitted bathroom plumbing change can surface at resale, and the buyer’s inspector will find it. A permit card with the inspection sign-off is worth more than the days it adds.
- Not walking the job at 30, 90, and 365 days. Most failures show up inside the first year. A homeowner who documents on a schedule catches them while the warranty still answers.
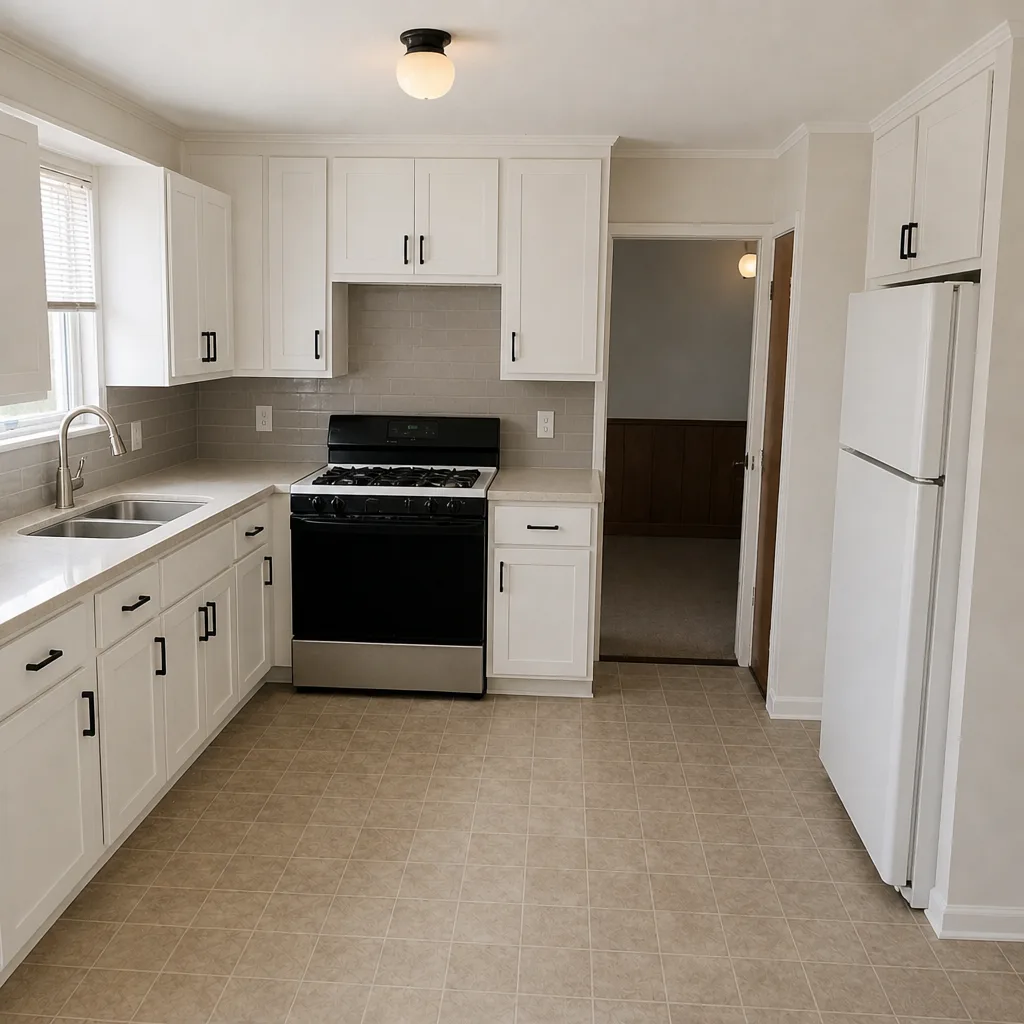
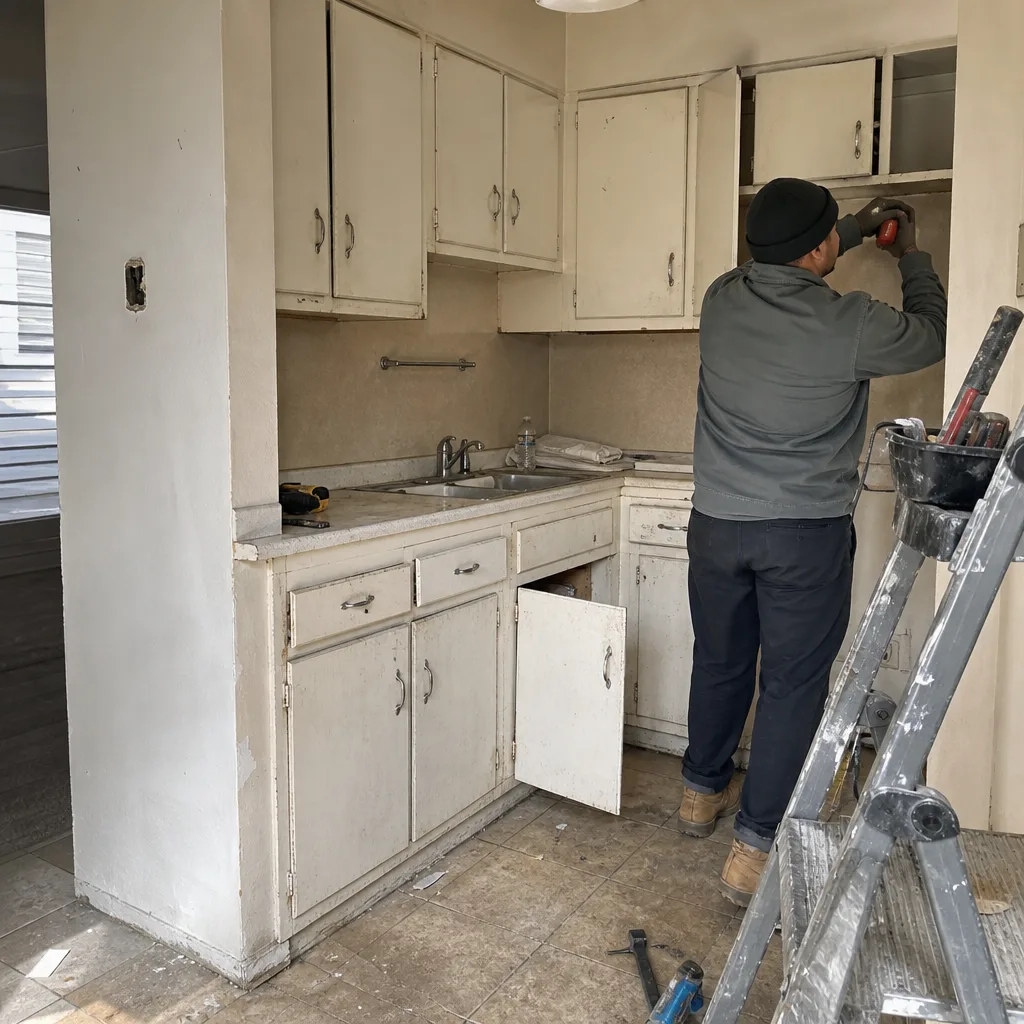
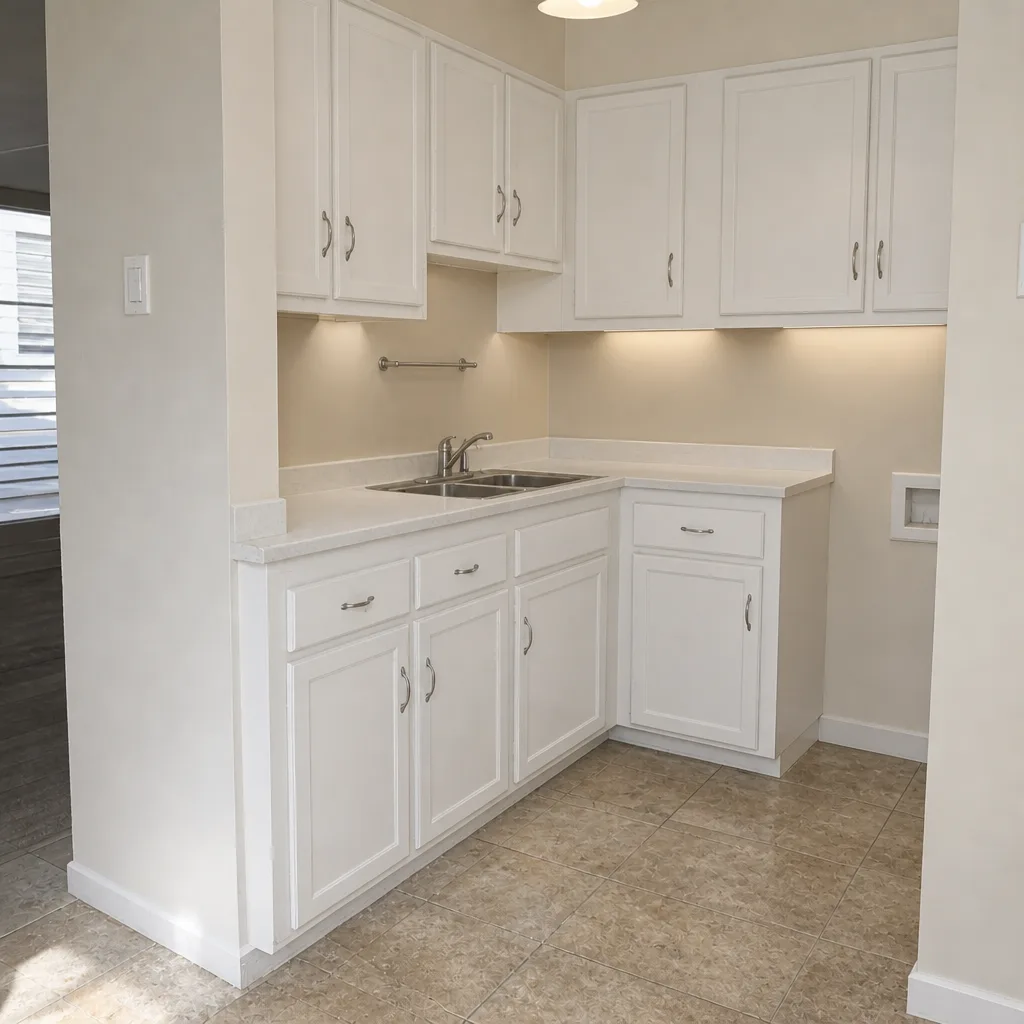
See the difference
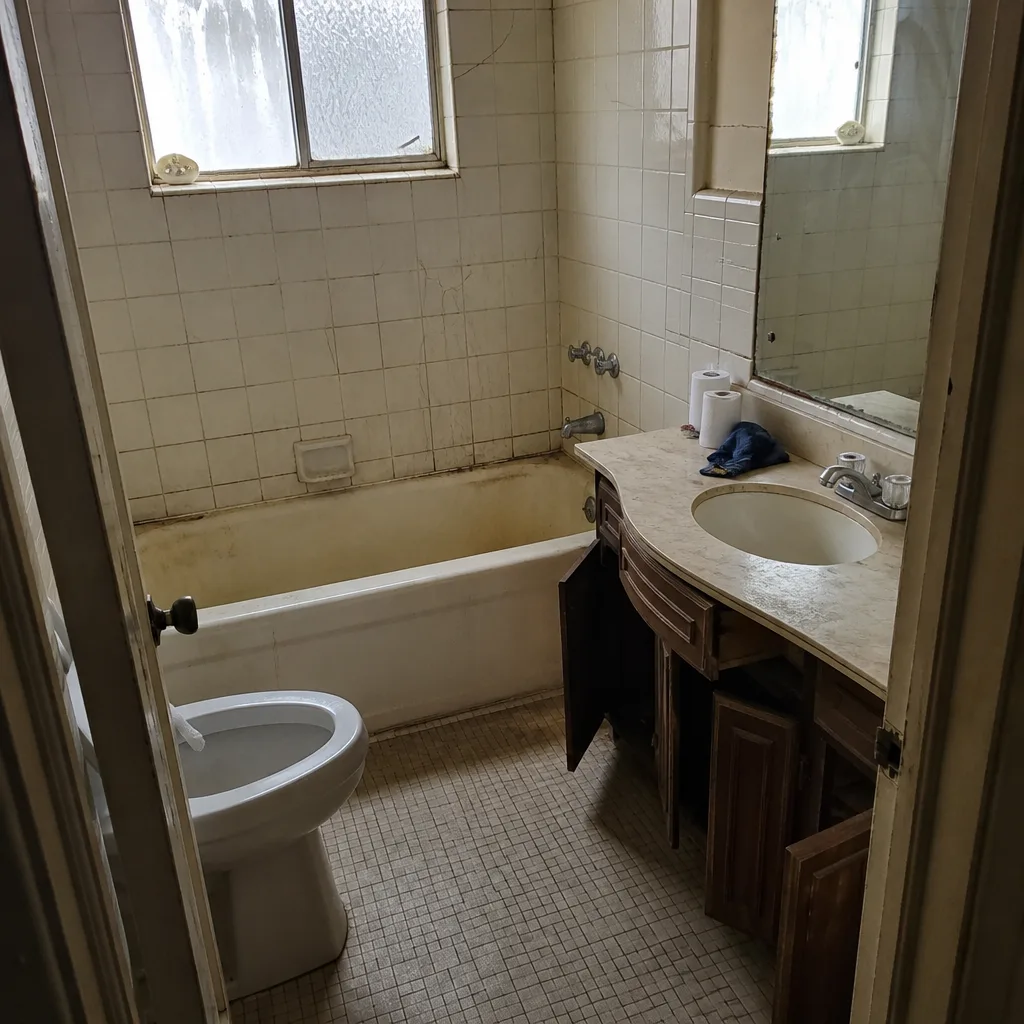 Before
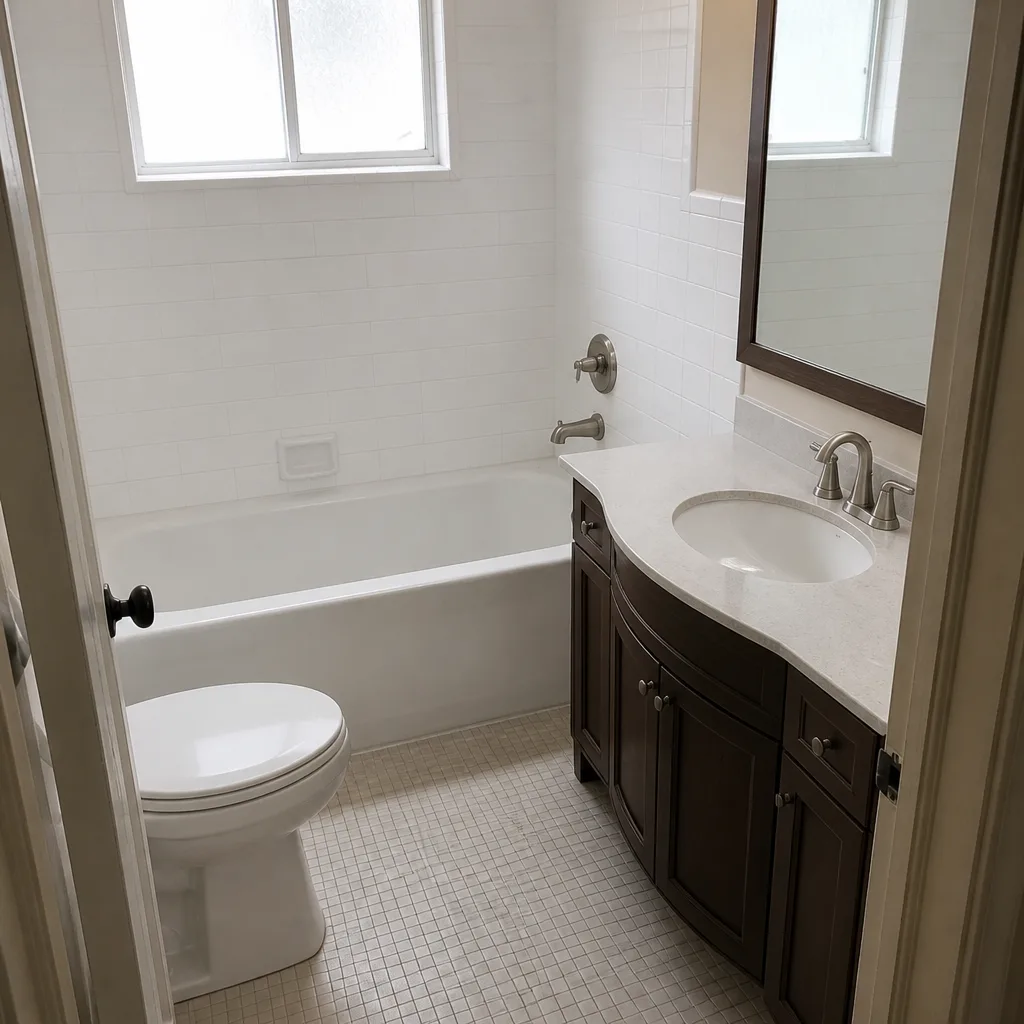 After
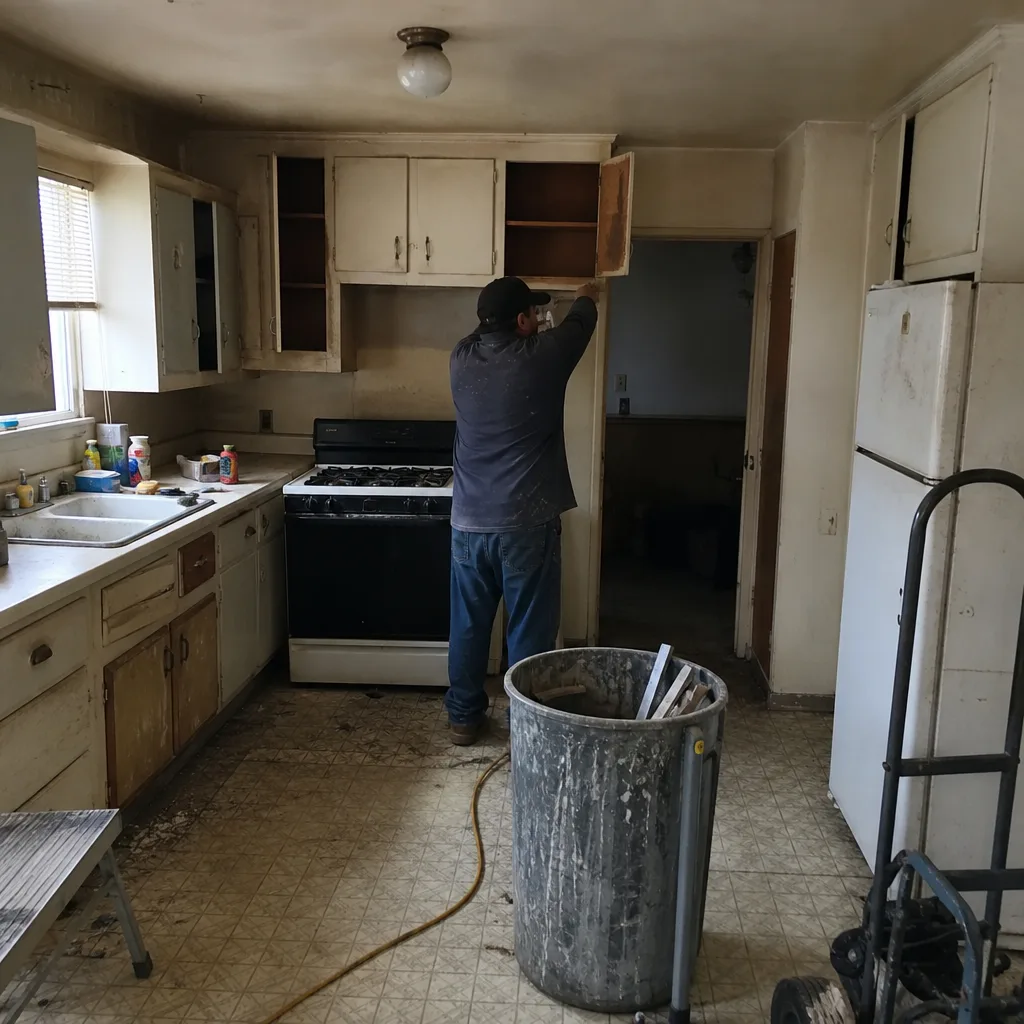 Before
 After
 Before
 After
When to Call a Professional
Call a professional when the failure points to substrate, rough-in, or a code item: a crack wider than a hairline, caulk that peels within a season, a fan that runs but doesn’t clear the room, a drain that’s slow within 90 days of a remodel, or a door that doesn’t clear the finished floor. Those are not maintenance tasks. They’re indicators the scope or the spec was wrong, and fixing the visible surface hides the cause. Call a professional any time a warranty claim is in play and you want to know whether the failure is workmanship or material before you spend money on a repair. Bradford Remodeling Co East Los Angeles offers free estimates in East Los Angeles – call (833) 520-6636. Every project we take on gets a written price before work begins, and every completed project carries the 365-Day Done Right Promise in writing.
Frequently Asked Questions
File as soon as you see a failure, not after it gets worse. A hairline grout crack at 90 days is the right time to file. A crack that’s widening by the week is already late. Put the claim in writing by email so there’s a dated record, and include photos with something in frame to show scale. A written record inside the warranty window protects your position whether or not the contractor fixes it on the first call.
You can’t from the surface alone, and anyone who tells you otherwise is guessing. Grout that failed as a material would usually show across multiple joints in a pattern tied to a batch. Grout that cracked in one localized area, or that recurs after a re-grout, points to movement underneath. A contractor who traces the failure to substrate, deflection, or improper backer is confirming workmanship, and the fix is on the contractor. Get that determination in writing before the repair starts.
Usually yes, if the work moves plumbing, adds or changes an electrical circuit, or changes a wall. Cosmetic-only work (paint, a fixture swap that doesn’t move the supply or drain) typically doesn’t. The permit matters for two reasons: the inspection sign-off is your proof the work passed, and an unpermitted plumbing change can surface at resale. Ask your contractor for the permit card copy on any job that moves plumbing or electrical, and confirm the inspection has been signed off before the final payment.
It covers the work we install on a completed Bradford Remodeling project. If the work fails inside the first year, we come back and correct it at no charge. The term is the 365 days that start at substantial completion and run a full year. Materials that fail from a manufacturer defect fall under the manufacturer’s own warranty, and we help route that claim. The full written language is part of the contract, and you keep a signed copy.
The fan is likely undersized for the room volume, or the duct run is killing its rated airflow. A fan rated for 80 CFM on a short, straight 4-inch duct will clear a small bath. The same fan on a long run with elbows may move half of that. The fix is usually a higher-CFM fan and a corrected duct run, and it belongs in a scope conversation with your contractor if the bathroom was remodeled in the last year. Call (833) 520-6636 for a free estimate on a fan and duct inspection.
A CSLB complaint creates a licensing record against the contractor and can lead to disciplinary action on the license, but the board cannot order a refund. Small claims court is the money track. It handles disputes up to $12,500 for individuals in California, and the filing fee is minimal. The strongest position is both: the complaint on record, and the small claims filing backed by your folder of signed contract, written scope, change orders, inspection notes, and photos. For the full picture on the licensing side, see our Bradford Remodeling Co East Los Angeles home page.
The Bottom Line
The five failures that show up after a bathroom remodel are almost always visible by 90 days. Grout cracks from deflection, caulk fails from a wrong movement spec, the fan runs but doesn’t clear the room, the drain is slow from a slope error, and the door won’t clear the floor. Each one is fixable, and each one has a clear path to who pays, but only if the warranty in writing says so. In East Los Angeles, where permits and plumbing changes in older homes carry real weight, the paper trail matters as much as the fix. Get the price in writing before work starts, get the guarantee in writing at completion, and walk the job at 30, 90, and 365 days.
Bradford Remodeling Co East Los Angeles puts every price and every guarantee in writing before a tool comes off the truck, and the 365-Day Done Right Promise covers the work for a full year. Our technicians have up to 22 years of experience, and every crew member is background-checked and uniformed, so you know exactly who’s at the door. Call (833) 520-6636 for a free estimate, and we’ll put the whole scope in front of you in writing.
Written by the team at Bradford Remodeling Co East Los Angeles.